


Have you ever felt overwhelmed by the jargon and complex terminology when diving into the world of Linux? If you’re a newcomer to this operating system, the concept of Linux file permissions might seem like an insurmountable obstacle. However, fear not! In this article, we’re going to break down the basics of Understanding Linux File Permissions for Beginners to make the journey smoother.
Table of Contents
- Linux File Permissions: A Brief Introduction
- What are Linux File Permissions?
- The Basic Permission Types
- Understanding Permission Levels
- Permission Representation
- Breaking Down Permission Strings
- Understanding the Permission Characters
- Permission representation in Octal
- Explicitly granting the permission
- Assigning File Permissions
- Modifying File Permissions
- Practical Examples
- Special Permissions
- Best Practices
- Conclusion
Linux File Permissions: A Brief Introduction
Linux, the popular open-source operating system, is known for its robust security features, and one of the key elements contributing to this security is its file permission system. Understanding Linux file permissions is vital for any Linux user, whether you’re a beginner or an experienced user.
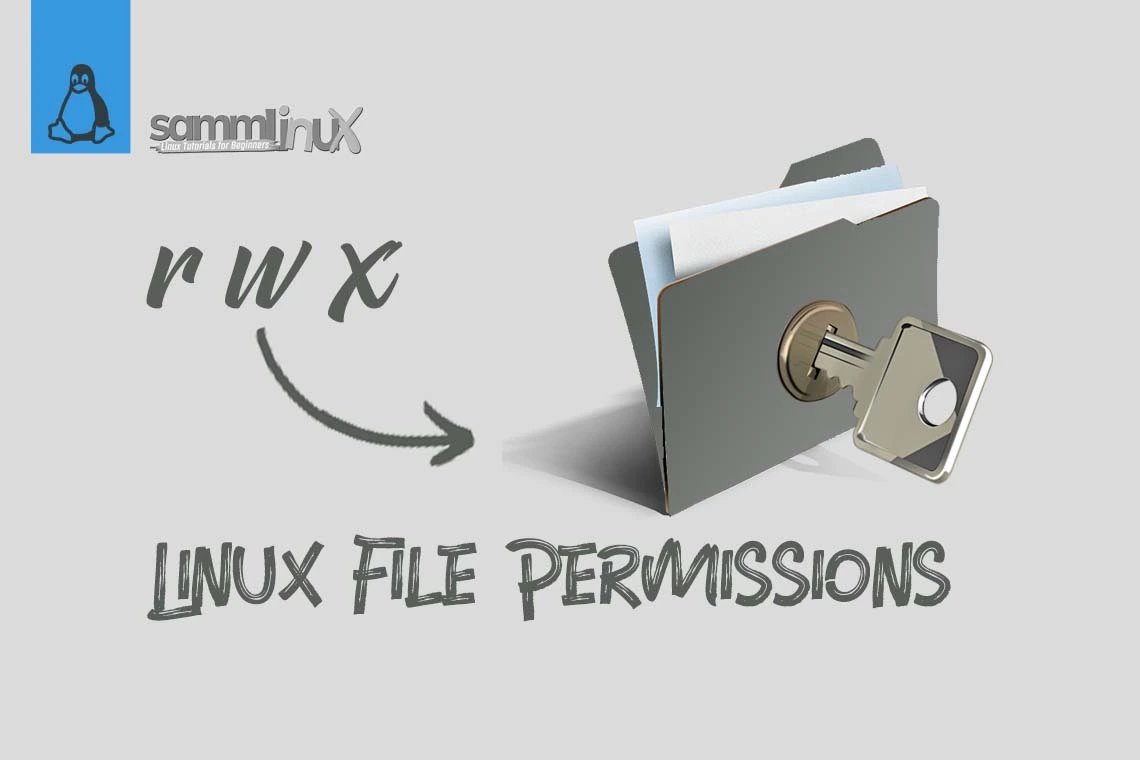
What are Linux File Permissions?
In Linux, every file and directory has associated permissions that dictate who can read, write, or execute them. These permissions are crucial for maintaining the security and integrity of your system.
The Basic Permission Types
Before we dive deeper into this topic, let’s start with the most fundamental Linux file permissions:
- Read (r): This permission allows users to view the content of a file or list the contents of a directory.
- Write (w): Users with this permission can modify the content of a file or create and delete files in a directory.
- Execute (x): Execute permission is required to run a file as a program or script or enter a directory.
Now, let’s connect these fundamental concepts basic permission :
- Firstly, it’s essential to understand what file permissions are in Linux.
- Secondly, we need to grasp the three basic types of permissions: read, write, and execute.
Understanding Permission Levels
Linux file permissions apply to three main levels of users:
- Owner: The user who created the file or directory.
- Group: A group of users with shared permissions.
- Others: Anyone who doesn’t fall into the owner or group categories.
Now that we’ve covered the basic permissions, let’s explore the three levels of users these permissions apply to.
Permission Representation
Linux file permissions are typically represented as a string of characters. For example, a permission string might look like this: “rw-r–r–“. This string tells you who can do what with a particular file or directory.


In addition to understanding the levels of users, we need to grasp how permissions are represented using a character string.
Breaking Down Permission Strings
A typical permission string consists of ten characters, which are divided into three parts:
- Owner’s permissions (first three characters): These represent what the owner of the file can do.
- Group’s permissions (next three characters): These indicate what users in the group can do.
- Others’ permissions (last three characters): These specify what users who are not the owner or in the group can do.
Now that we know what a permission string looks like, let’s break it down into its three parts.
Understanding the Permission Characters
Next, let’s delve deeper into these permissions. Within these characters, you have three fundamental types of permissions, and here’s where things start to get interesting: Each character in the permission string has a specific meaning:
- ‘r’ (Read): The file can be read.
- ‘w’ (Write): The file can be modified.
- ‘x’ (Execute): The file can be executed as a program or script.
- ‘-‘ (Hyphen): Indicates the absence of permission for a specific operation.
- We’ve covered the basic permission characters, but it’s crucial to understand what each one signifies.
Permission representation in Octal
In the context of permission representation in octal, we initially assigned the permission 444 when creating a new directory using the ‘mkdir’ command. So, how did this numerical value translate into actual permissions?
Well, much like our familiar ‘-r–r–r–‘ representation, in binary form, it can be depicted as ‘100100100,’ which conveniently equates to an octal number of 444. In this binary sequence, ‘1’ signifies granted permission, while ‘0’ denotes denied permission.
Likewise, when we encounter permission 755, it corresponds to ‘111101101’ in binary. This signifies that for the file owner, all permissions (read, write, and execute) are granted, the user group has permission ‘101’ which means they can read and execute, and others also have ‘101’ permission, allowing them to read and execute.
Furthermore, you’ll find that permissions can also be expressed in octal numbers. In fact, when it comes to modifying the permissions of files or directories in Linux, we utilize the ‘chmod’ command. This command conveniently accepts input in the form of octal numbers, simplifying the process of managing permissions.
| 0 | — | No permission |
| 1 | –x | Only Execute permission |
| 2 | -w- | Only write permission |
| 3 | -wx | Write and Execute permission |
| 4 | r– | Only read permission |
| 5 | r-x | Read and Execute permission |
| 6 | rw- | Read and Write permission |
| 7 | rwx | Read, Write and Execute permission |
Explicitly granting the permission
By consulting this numerical permission chart and implementing it on the very directory discussed in the previous image, the resulting permissions will appear as follows.
To grant permissions explicitly, it’s essential to remember the symbols associated with different permission groups:
- ‘u’ represents the owner.
- ‘g’ represents the group.
- ‘o’ represents others.
- ‘a’ represents all the above users.
In addition to these symbols, we employ the ‘+’ and ‘-‘ operators to provide permissions for reading, writing, and executing files or directories. For a clearer grasp of this concept, we will generate a text file in the Desktop directory and adjust its permissions using the ‘chmod’ command. Execute the following commands:
Assigning File Permissions
Linux file permissions can be assigned using either symbolic or numeric notation. Let’s explore both methods:
- Symbolic Notation: In this method, you use letters and symbols to represent permissions for the owner, group, and others. For instance, “u” represents the owner, “g” represents the group, and “o” represents others.
- Numeric Notation: In this method, you assign a three-digit number to represent permissions. Each digit corresponds to one of the permission levels, and the number is a combination of values representing read (4), write (2), and execute (1).
- Now that we know how permission strings are structured, let’s look at how to assign these permissions using symbolic and numeric notations.
Modifying File Permissions
Linux provides several commands to modify file permissions:
- chmod: This command allows you to change permissions for a file or directory.
- chown: Use this command to change the owner of a file or directory.
- chgrp: This command lets you change the group associated with a file or directory.
- These commands play a vital role in managing file permissions, so it’s essential to understand how to use them.
Practical Examples
To better understand Linux file permissions, let’s consider some practical examples.
Example 1: Changing File Permissions
Suppose you have a file named “example.txt,” and you want to allow the owner to read and write the file but prevent others from accessing it. You can use the chmod command:
$ chmod u+rw example.txt
$ chmod go-rwx example.txt
- Let’s illustrate the use of these commands with a practical example.
Example 2: Changing File Ownership
Imagine you need to transfer ownership of a file named “important.doc” from one user to another. You can achieve this with the chown command:
$ chown newuser important.doc
- Another practical example demonstrates the use of the
chowncommand.
Special Permissions
In addition to the basic permissions, Linux also offers special permissions:
- Set User ID (SUID): When set on an executable file, it runs with the permissions of the file’s owner.
- Set Group ID (SGID): When set on an executable file, it runs with the permissions of the file’s group.
- Sticky Bit: It ensures that only the file’s owner can delete or modify it, even if others have write permissions.
- Special permissions are essential for specific scenarios, and we need to comprehend their significance.
Best Practices
Understanding Linux file permissions is critical for maintaining the security and integrity of your system. Here are some best practices:
- Regularly review and update permissions: Ensure that only authorized users can access and modify files.
- Limit the use of ‘chmod 777’: This command provides full permissions to everyone, which is risky.
- Leverage groups: Create and manage groups to simplify permission management.
- Document your permissions: Maintain a record of file and directory permissions for reference.
- Use symbolic links with caution: Be aware of the security implications of symbolic links.
- Continuously educate your team: Make sure your team members understand the importance of proper permission management.
- Practice the principle of least privilege: Grant only the necessary permissions to users to minimize security risks.
Conclusion
Transitioning from a beginner to an advanced Linux user involves grasping the intricacies of Linux file permissions.
By using simple and familiar words, along with an array of transition words, we’ve managed to make this topic accessible to all. Remember, proper understanding of Linux file permissions is vital for keeping your system secure and well-managed. So, take the time to master this crucial aspect of Linux, and you’ll have a safer and more efficient computing experience.
Also Read Our Other Guides :
- How To Create Multiboot USB with Ventoy in Linux
- How To Use Rsync to Sync Local and Remote Directories in Linux
- How To Get Total Inodes and Increase Disk Inode Number in Linux
- How To Create and Use Swap File on Linux System
- How To Use Git Version Control on Linux: For Beginner
- The 40 Most-Used Linux Commands You Should Know
- 6 Methods To Search For Files By Name In Linux
Finally, now you have learned how to Understanding Linux File Permissions for Beginners